You’ve bought your domain and purchased your hosting. Now you’re ready to install WordPress! Awesome sauce. Let’s get started on the easiest way to install WordPress.
If you got your domain and hosting through Bluehost, then Bluehost makes it really easy to install WordPress from their dashboard.
- Make sure you’re logged into your Bluehost account
- Go to the My Sites page
- Click Create Site at the top right corner
- Enter your Site Name
- Write a Site Tagline. This is just a simple sentence that describes your website. An example might be: a beauty blog for women who want to look and feel their best!
- Select your domain name
- Uncheck all of the “Helpful Plugins” listed. You don’t need those right away.
- Click Next to install!
Once the installation is complete, you can log into your new WordPress website by clicking “Login to WordPress.”
Scroll down on this page and read my “Recommended Configuration” section to adjust some important settings on your new website!
Other Shared Hosting Providers
If your domain was bought and hosted through a different web hosting provider, then here is what you need to do.
Set your Nameservers
Nameservers determine where a website will be directed. They’re kind of like coordinates that tell web browsers which server to direct traffic to. Your domain provider can tell you how to change them.
From Namecheap, it’s super easy.
Simply find your domain and select the “MANAGE” button.
Scroll down to the NAMESERVERS section.
Choose Custom DNS.
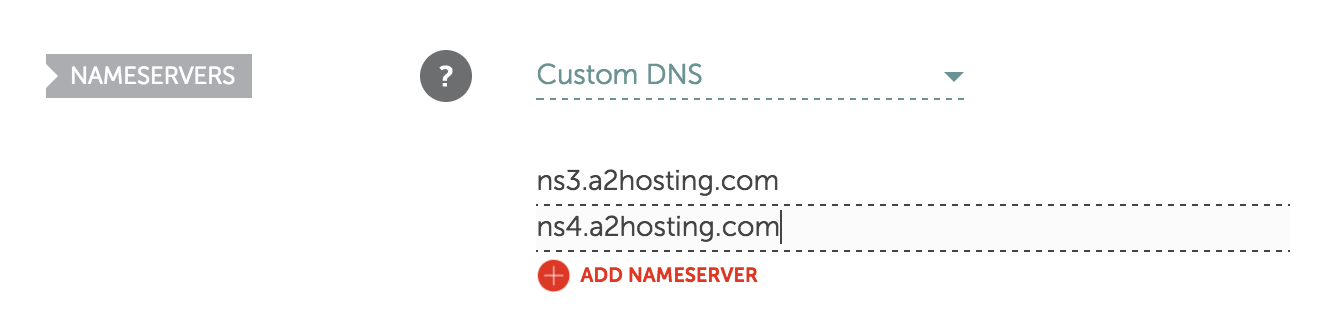
Then type the Nameservers your host requires. You’ll typically receive this information immediately after signing up for hosting. Sometimes it can take several hours for a new domain to be pointed in the right direction, so be patient. I’ve never had it take more than 10 minutes.
If there is a record for “Redirect Domain,” I’d recommend deleting it unless you prefer www to pre-ceed your domain name on the web! (I don’t do this).
Add Your Domain to Your Host
Now we have to tell our hosting account that we’d like to host a new domain’s website. If you registered for your hosting with only one domain, then you can skip to step 3! If this is additional domain, then keep reading. We’ll add the new domain through cPanel, the back-end of your hosting administration. It’s where you can control settings, your website database, and gain access to files stored in your hosting account.
Log in to cPanel through your hosting provider.
Go the Domains section.
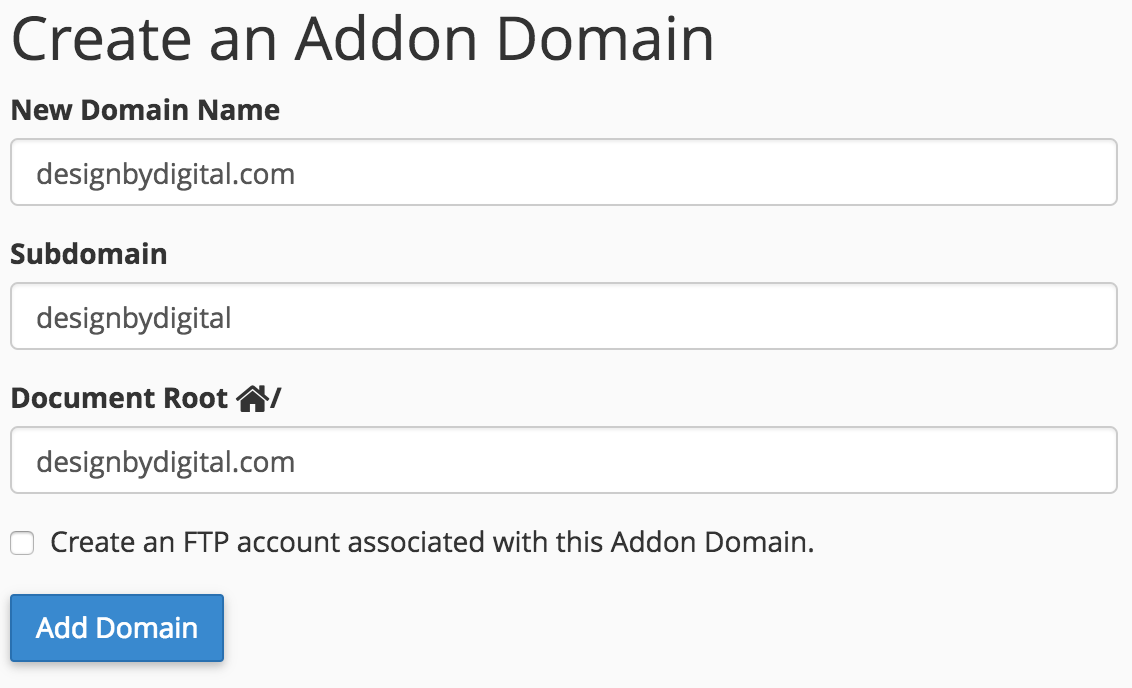
Select “Addon Domains”
Enter your domain name in the “New Domain Name” field.
Click Add Domain
Install WordPress
Now that our domain is pointing to our hosting account, it’s time to install WordPress onto the site! Start by going back to the cPanel.
Scroll to the “Apps Installer” section.
Click WordPress .
Click Install Now.
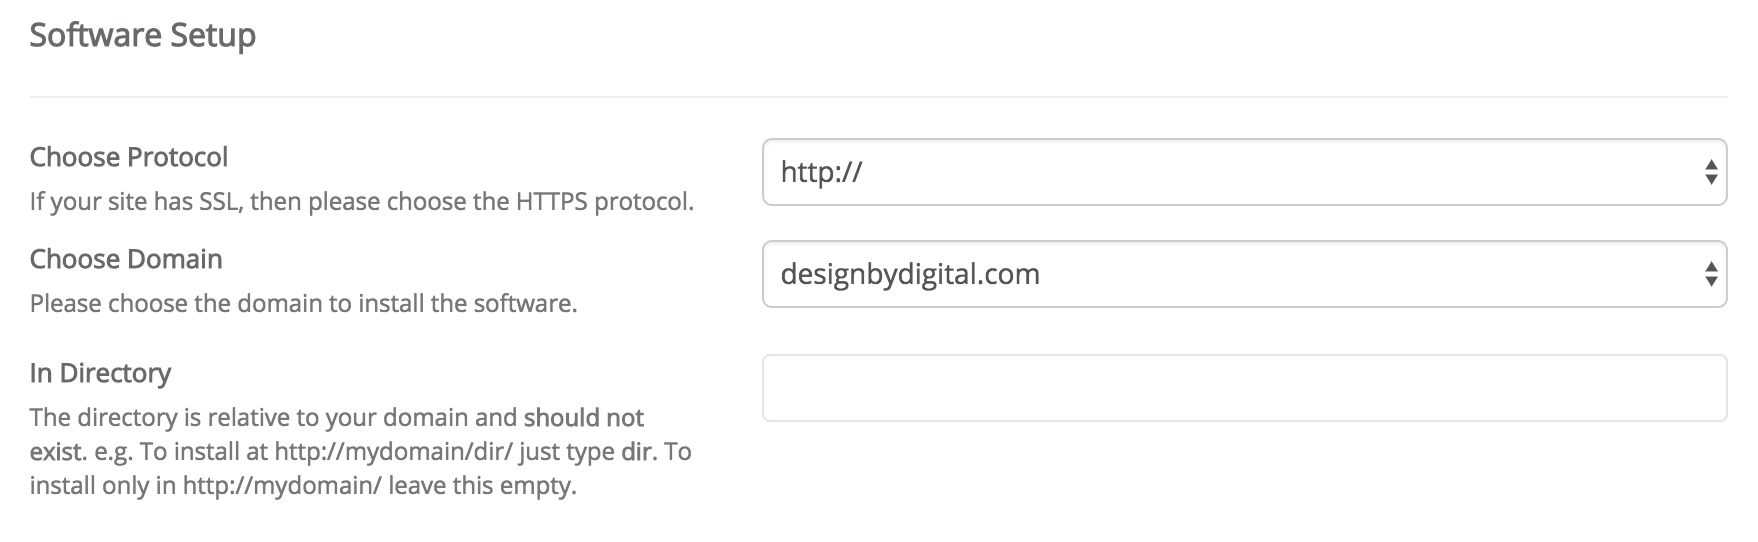
Complete the Software Setup:
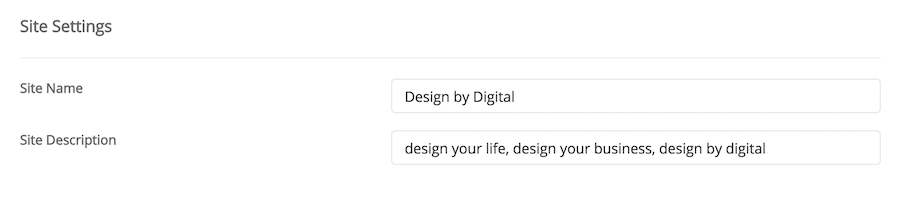
Enter your desired Site Settings:
Click Install
Fill out the Admin Account:
Make sure this username and password are memorable and unique, because this is how you will log-in to your site! Your host may give you sample username and password like this, but you don’t have to use them! Never use the word “admin” for your username, this is very common among WordPress users and will make you vulnerable to hackers!

Wait for the software to finish installing and don’t close the page until you see a “Congratulations” message like this:
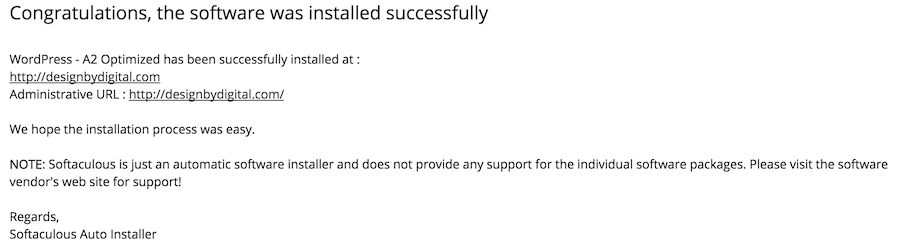
That’s it! You’ve now installed WordPress.
Recommended Configuration
I’d recommend visiting the Settings page straight away to configure your new WordPress website. Click the Administrative URL provided to you and log into to your WordPress Admin.
Click the Settings button on the black lefthand sidebar.
Look over all the information here, and adjust the Timezone of your blog if you need to, as well as the structure of dates (ie. showing January 1, 2018)
Next click Permalinks, also beneath the Settings section of the black lefthand sidebar. I recommend choosing Post name as the URL structure for your blog posts.
Click Save Changes and you’re all done!