Jetpack is a plug-in with a suite of powerful tools designed to help supercharge your WordPress blog. It’s actually made by the same creators of WordPress itself.
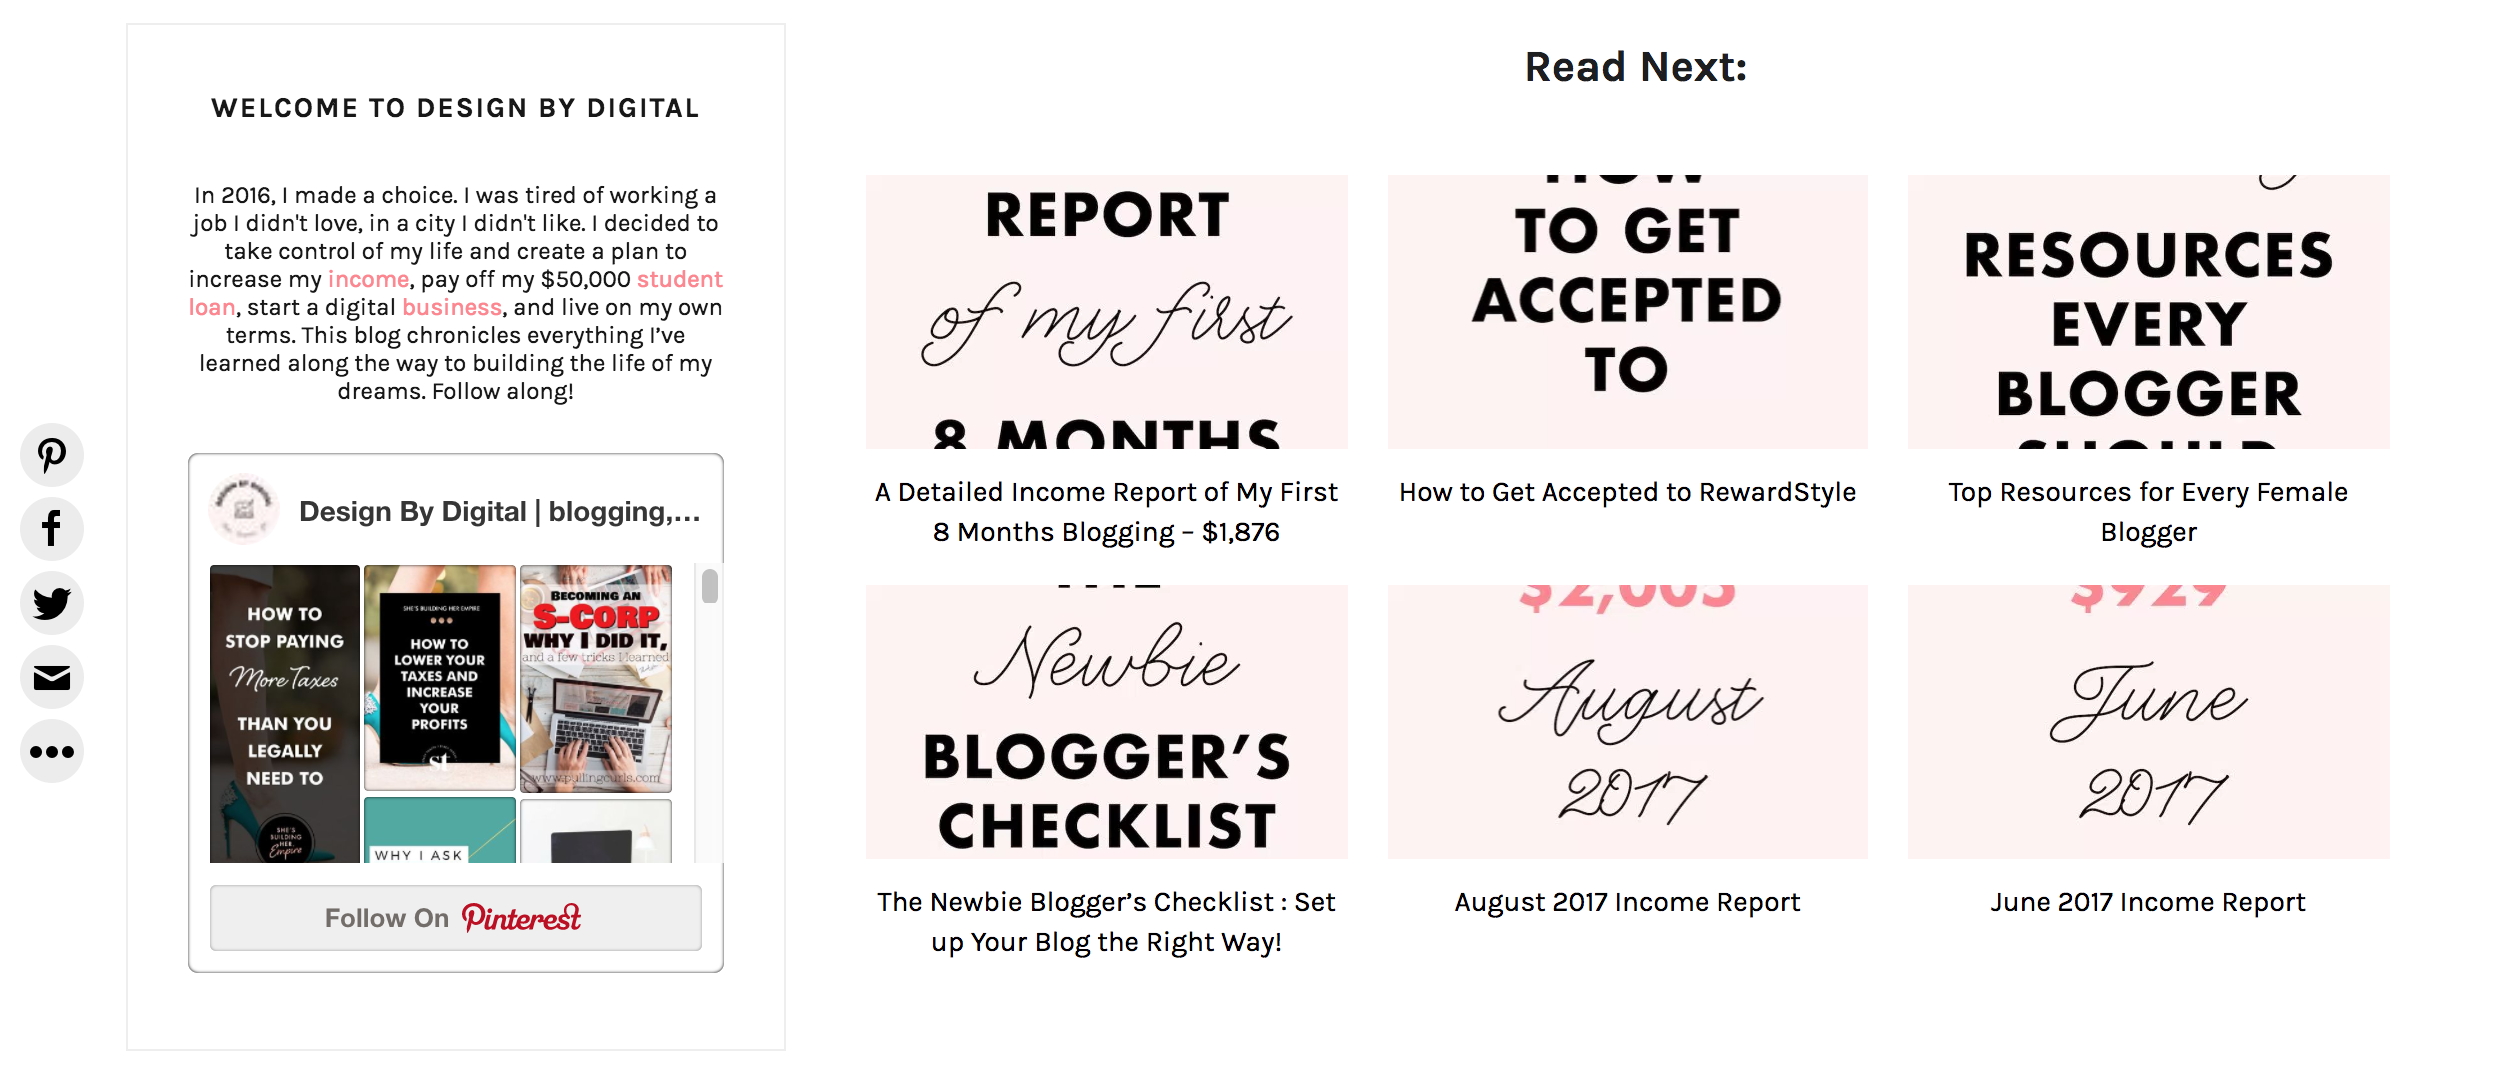
Jetpack’s Related Post feature is extremely popular among bloggers as it provides an easy and reliable way to show similar posts that readers can click on at the bottom of each single blog post. These “related posts” generally come from the same Category or Tag as the post the reader is viewing.
You should use Related Posts if you are not already because they tend to keep readers on your site longer and thus help decrease your site’s bounce rate when properly implemented.
If you haven’t already enabled Related Posts, you can do so by mousing over “Jetpack” in the WordPress admin sidebar and clicking “Settings.” From the Traffic section, you’ll see an option to enable Related Posts. Turn it on!
Jetpack allows for very basic customization of the plug-in by mousing over Appearance on the WordPress admin sidebar and clicking “Customize.” From there, you can scroll down to the Related Posts section and choose what information you would like the plug-in to show.
Beyond the options in that menu, here are three ways I’ve personally customized the Jetpack plug-in on my blogs:
1. Choose Where the Related Posts Appear
By default the related posts will appear at the end of your blog post content.
Depending on your theme, that could be above or below of where you actually want the related posts to appear! For example, I personally want sharing icons to be shown before any related posts.
In order to move the related posts section, I need to dig into my theme’s files.
WARNING: Do not edit your theme’s files without making a back-up first! The functions.php file in your theme can easily disable your site if you are not careful. Proceed with caution.
To choose where the related posts appear in a post, you have to first remove the related posts from their current location. You can do this by going to the functions.php file of your theme and adding this code:
2
3
4
5
6
7
8
if ( class_exists( 'Jetpack_RelatedPosts' ) ) {
$jprp = Jetpack_RelatedPosts::init();
$callback = array( $jprp, 'filter_add_target_to_dom' );
remove_filter( 'the_content', $callback, 40 );
}
}
add_filter( 'wp', 'jetpackme_remove_rp', 20 );
Then you want to go to the single.php file and add in this piece of code where you want the Related Posts to appear:
Voila! You’ve now customized where the Jetpack Related Posts will appear within your single post page.
2. Show 6 Related Posts Instead of 3
Did you know that Jetpack can show more than three related posts at the end of your blog posts?
My travel blog is very image heavy, so I wanted to make sure I had several related posts my readers could choose from after finishing an article. After all, six choices is better than three!
Only problem was Jetpack by default shows three, and doesn’t make it easy to show more.
Not to worry, with a little bit of code changes we can have Jetpack show 6 related posts (I chose six since the extra 3 can fit nicely below the first 3) on our blog post pages.
For this customization, we’re going to go back into the functions.php file of the blog theme and add the following piece of code:
2
3
4
5
$options['size'] = 6;
return $options;
}
add_filter( 'jetpack_relatedposts_filter_options', 'jetpackme_more_related_posts' );
Scroll down and click “Update File”
3. Remove the Fading of Images
For some odd reason, the designers of the Jetpack plugin decided to put a layer above the featured image for each related post to give it a “faded” look.
As a lot of my blogs are photography heavy, so this drives me crazy!
To disable the fading of images for both the normal appearance and on hover, input the following code into your theme’s CSS file:
(If you don’t know how to get there, mouse over Appearance, and click “Customize.” Then scroll down to the Additional CSS section)
2
3
4
5
6
7
8
9
10
-moz-opacity: 1;
opacity: 1;
}
div#jp-relatedposts div.jp-relatedposts-items div.jp-relatedposts-post:hover {
filter: alpha(opacity=100);
-moz-opacity: 1;
opacity: 1;
}
There you have it, three ways I’ve greatly improved the Jetpack plug-in on my blogs! Cheers to a lower bounce rate for all!
Thank you, Blog! I have been cracking my head over how to remove the unflattering layer on the related post images, and I happened to stumble on this! Thanks again!
You’re welcome! 🙂 xx
Oh, thankyou. I just need it. And i want to see the result of. Point 1.
Your related post is awsome. What is related post plugin that used in your theme?